dockerdevelopmentdevops
Setup Keycloak for development purposes
•2 min read
Keycloak docker-compose
Just paste the code below into a file and name it docker-compose.yml
services:
  keycloak:
    image: quay.io/keycloak/keycloak:26.0
    environment:
      KC_BOOTSTRAP_ADMIN_USERNAME: admin
      KC_BOOTSTRAP_ADMIN_PASSWORD: admin
    ports:
      - '8000:8080'
    command:
      - start-dev
Run the command docker compose up -d and open the URL http://localhost:8000 in your browser. Log in to Keycloak with the username and password - in the file, both are admin.
Keycloak internal setup
- Create the realm
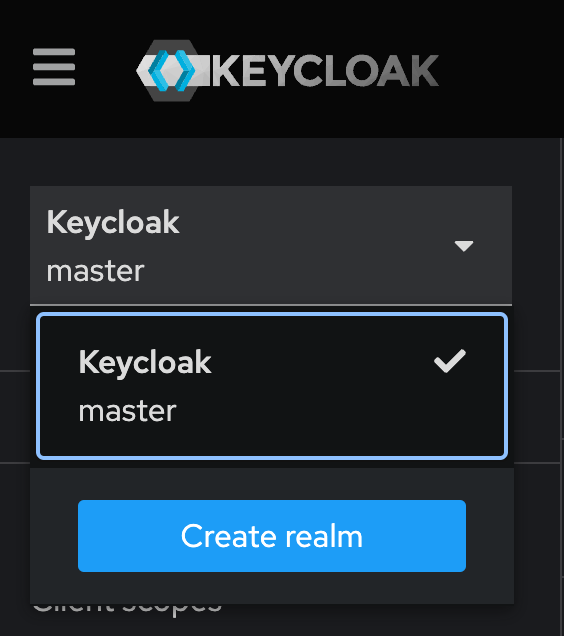
Fill in the name and click create.
- Create the client
Click clients in the sidebar and click Create client. Fill in the Client ID, which is very important and commonly used in OAuth libraries.
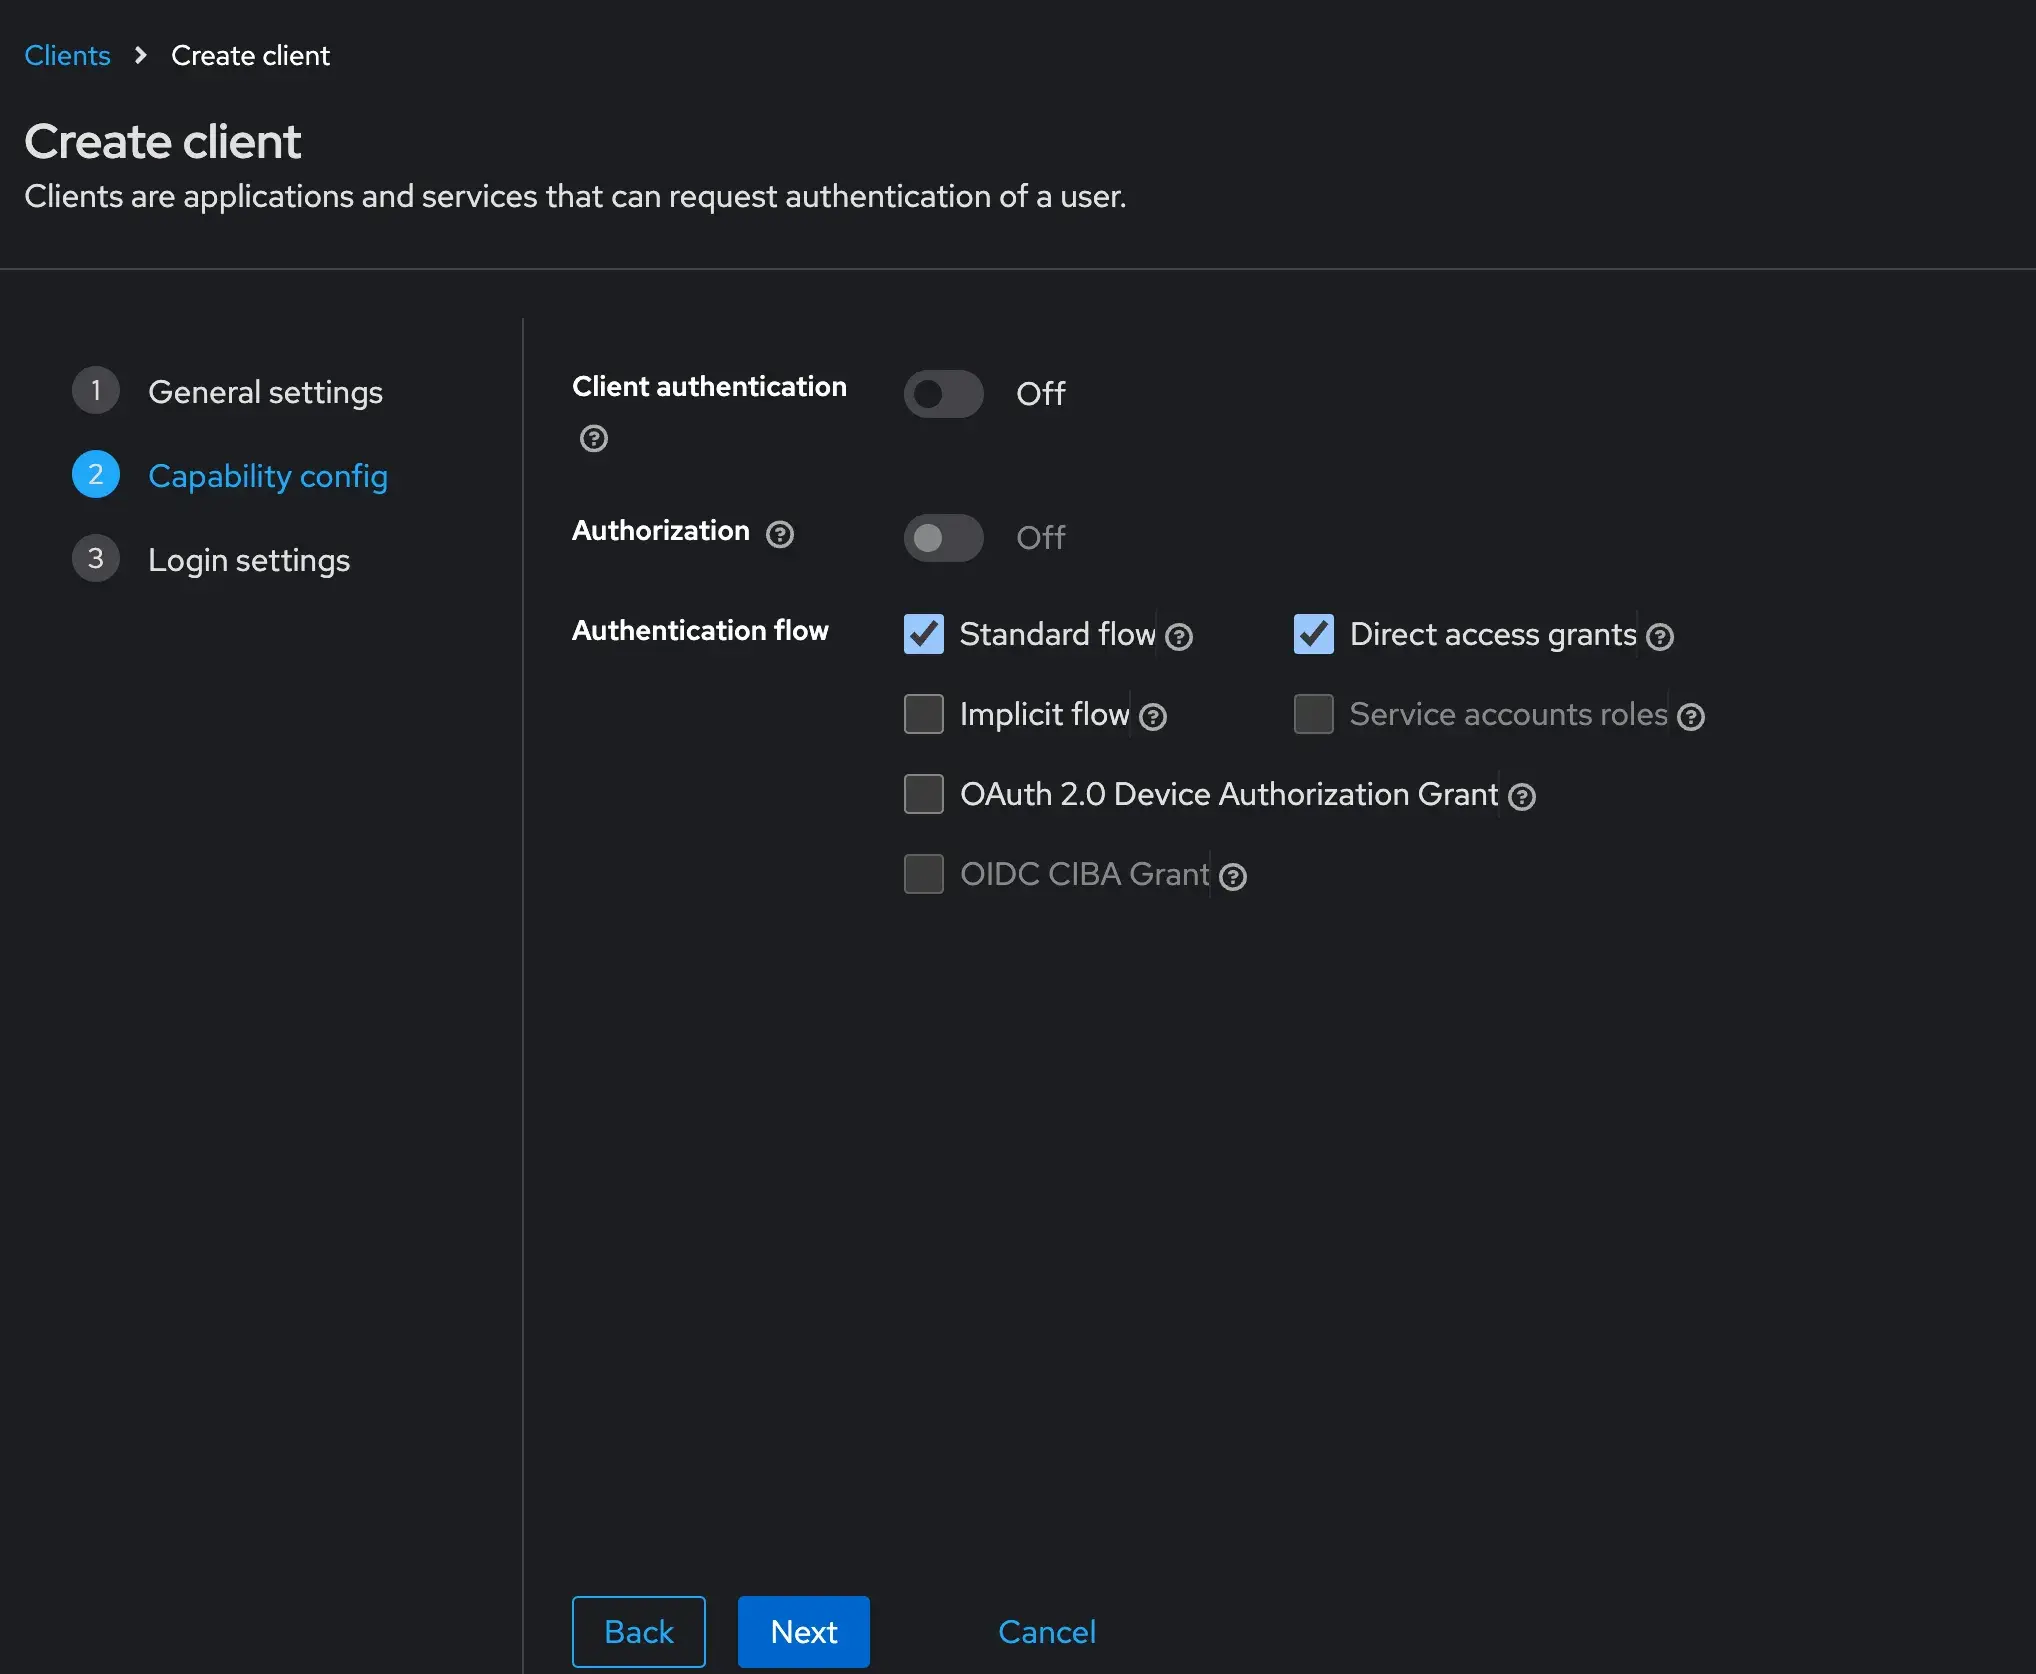
I would leave these settings as they are, because the most popular and widely used flow is the code flow, which is enabled by the standard flow checkbox.
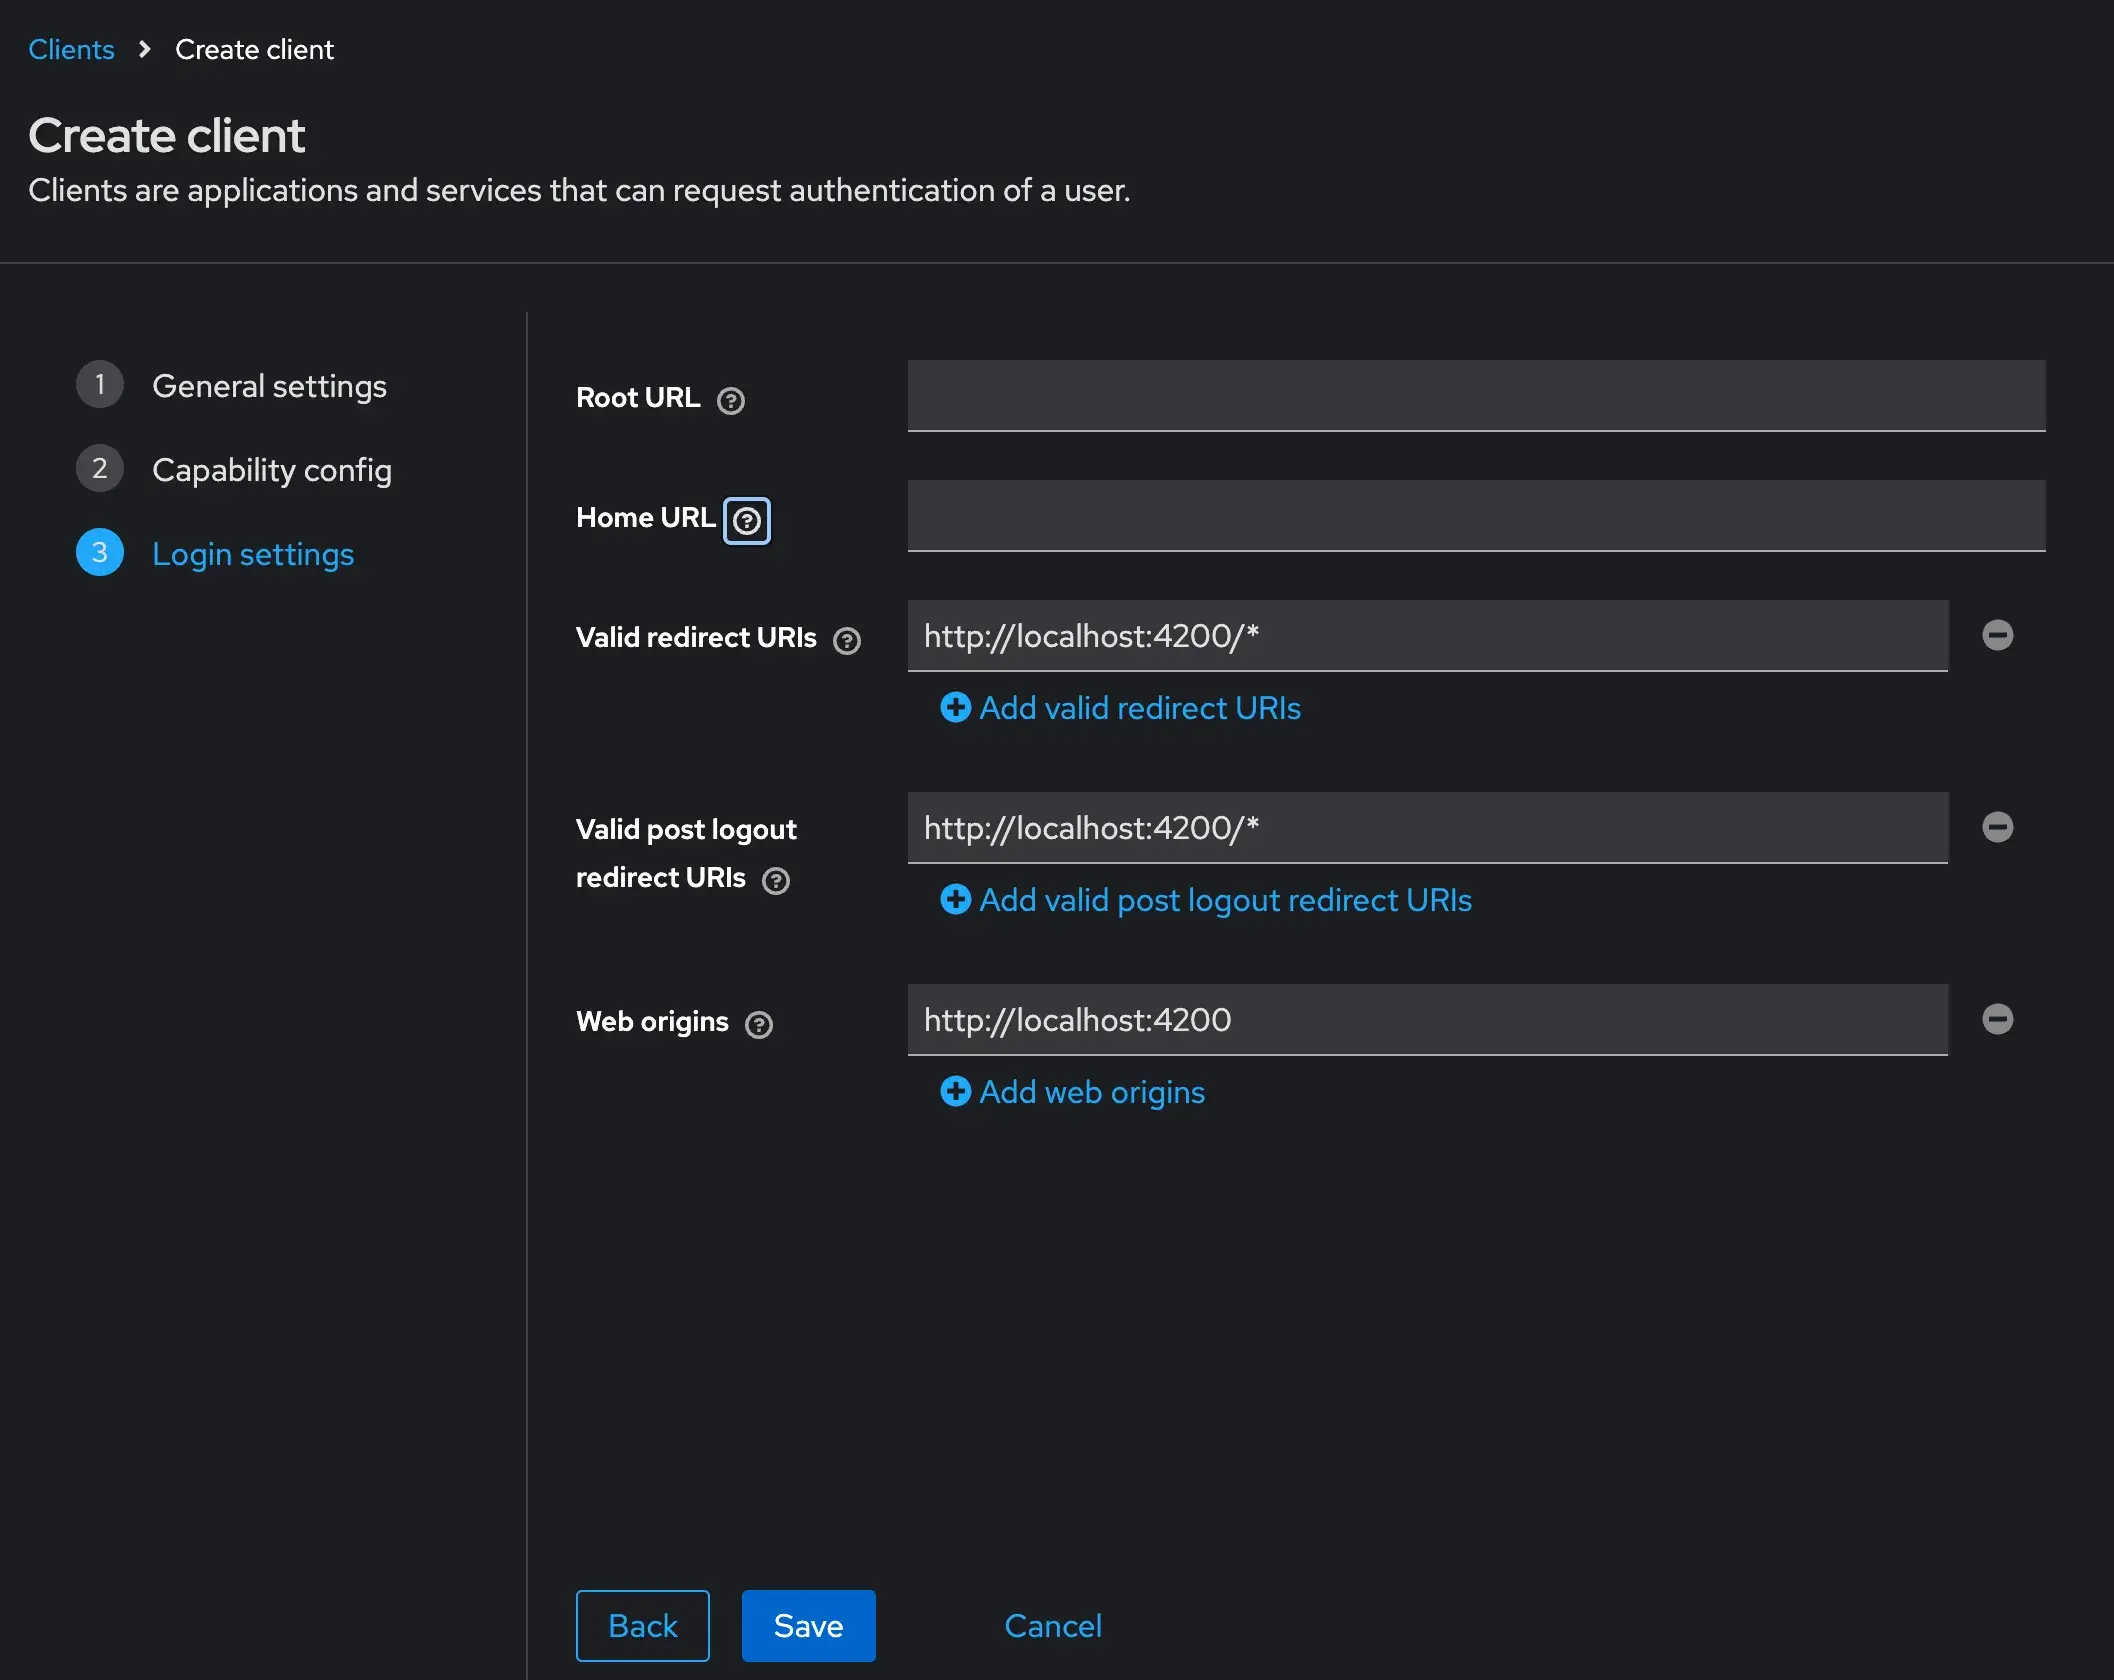
Next, you should determine your URIs. For Angular, it can look like this:
- Create the user There's nothing complicated here, just fill in the inputs. 4) Create a password for the user In the
Credentialstab, you can set the password for your user.
That's it! You're good to go with development :)